

Configruing a Backup Plan
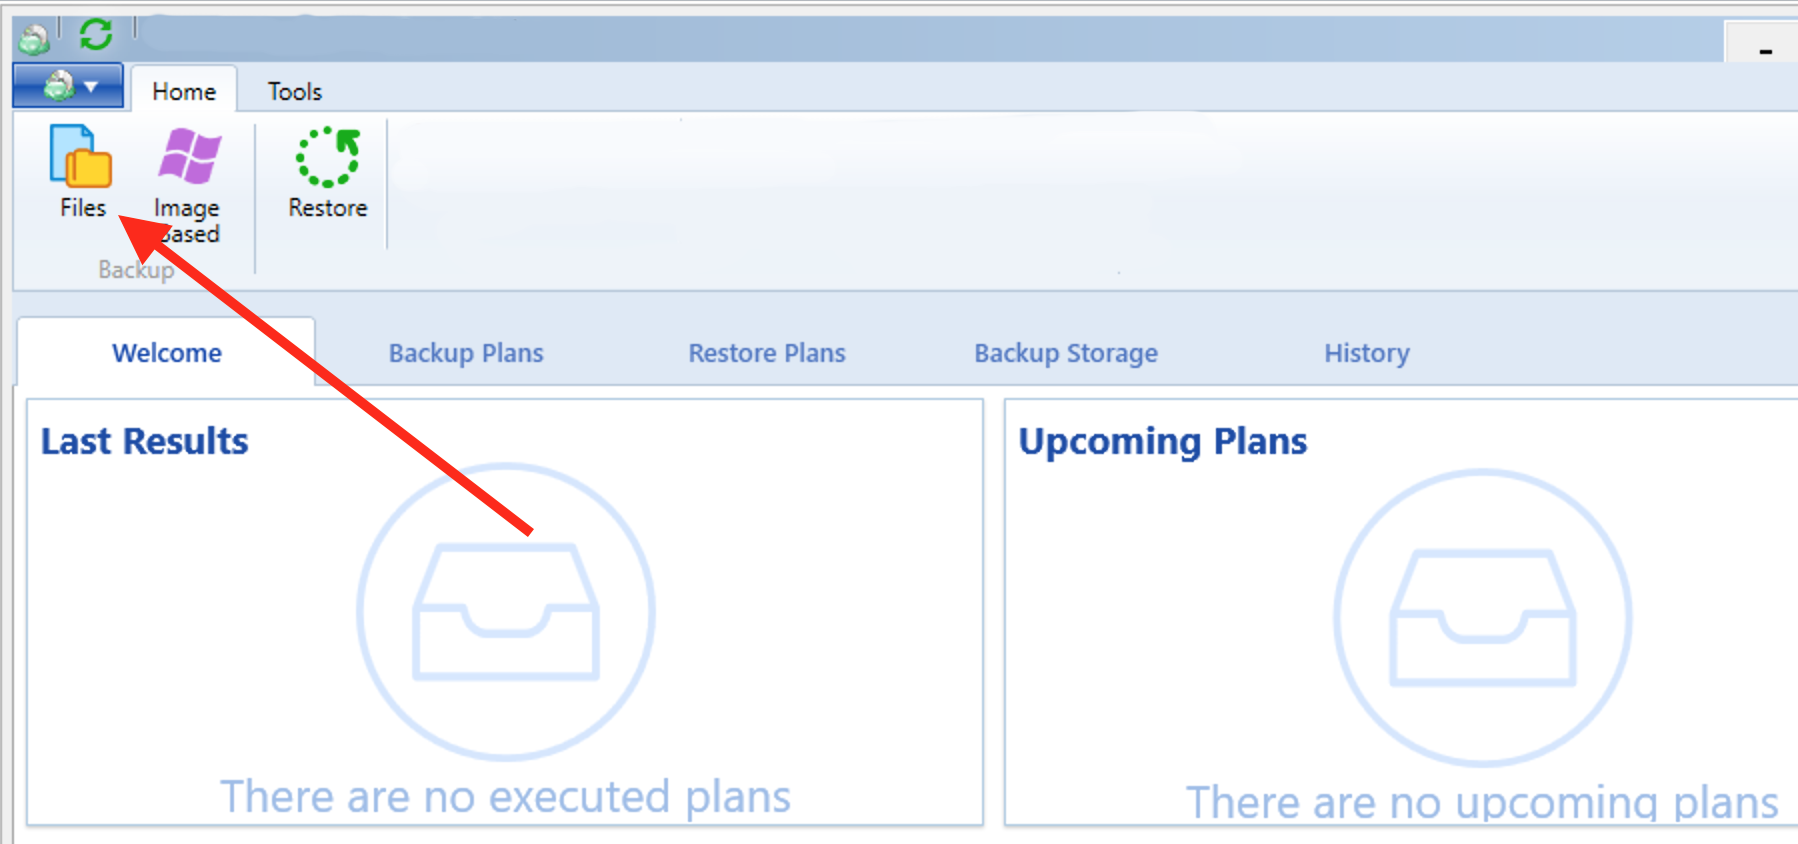
File-level backup can be configured in the Backup Wizard by clicking on the Files button on the main toolbar or by using the Ctrl+B shortcut.
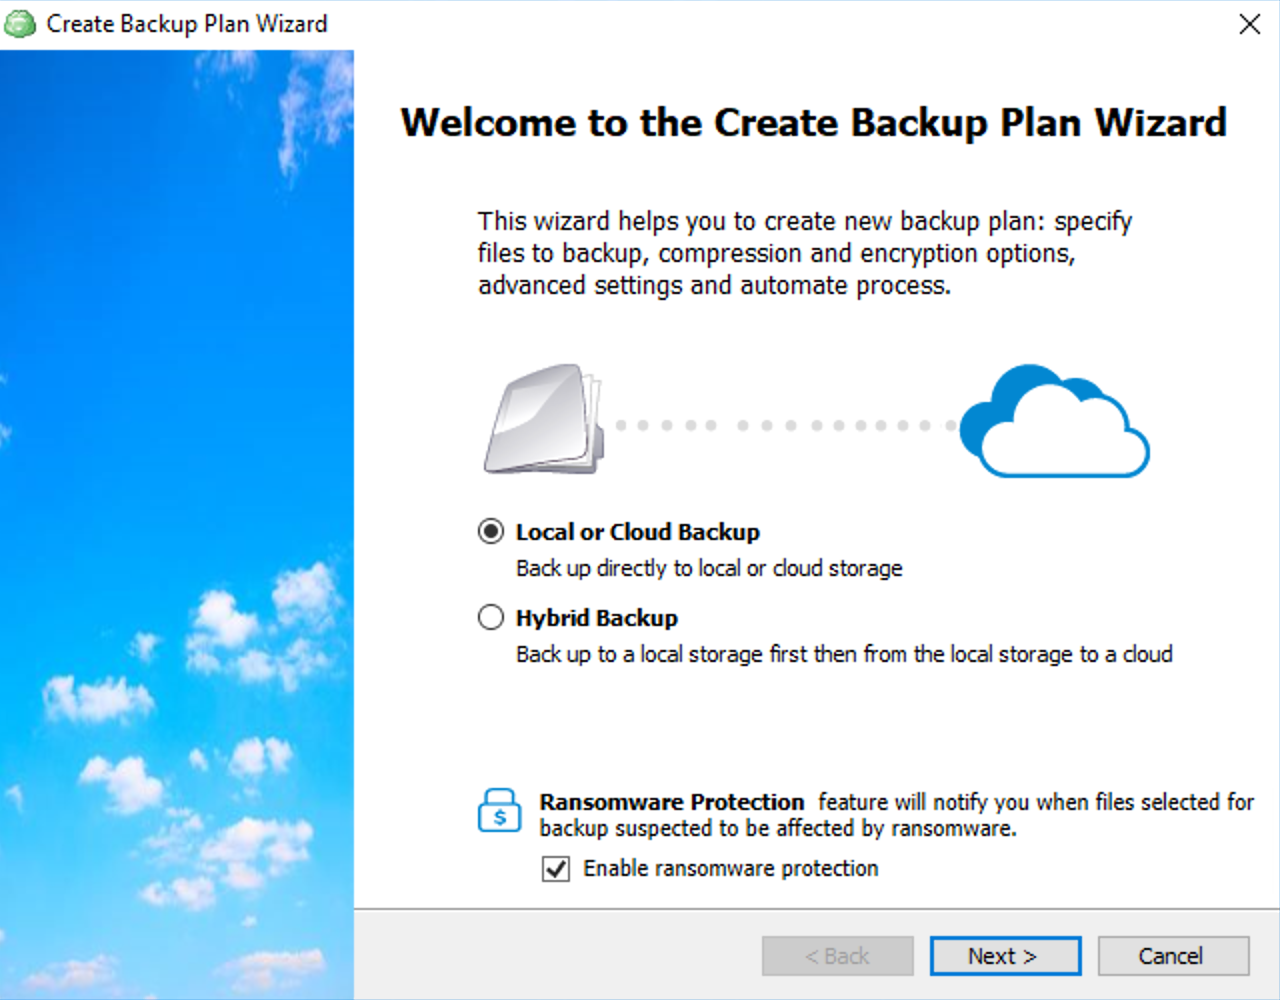
The Backup Wizard will appear and then you can proceed to configure the plan. The first step is to indicate whether you want to perform backup just to a local or cloud storage or whether you want to use Hybrid Backup to back up data simultaneously to one local and one cloud storage.
confirms that there is an issue. Click Next.
You can optionally enable Ransomware Protection which detects encryption changes in file (which could happen due to ransomware) and prevents existing backups from being overwritten until an administrator confirms that there is an issue. Click Next.
On the second page of the wizard, if you're configuring a Hybrid Backup plan, specify the local storage. Click Next.
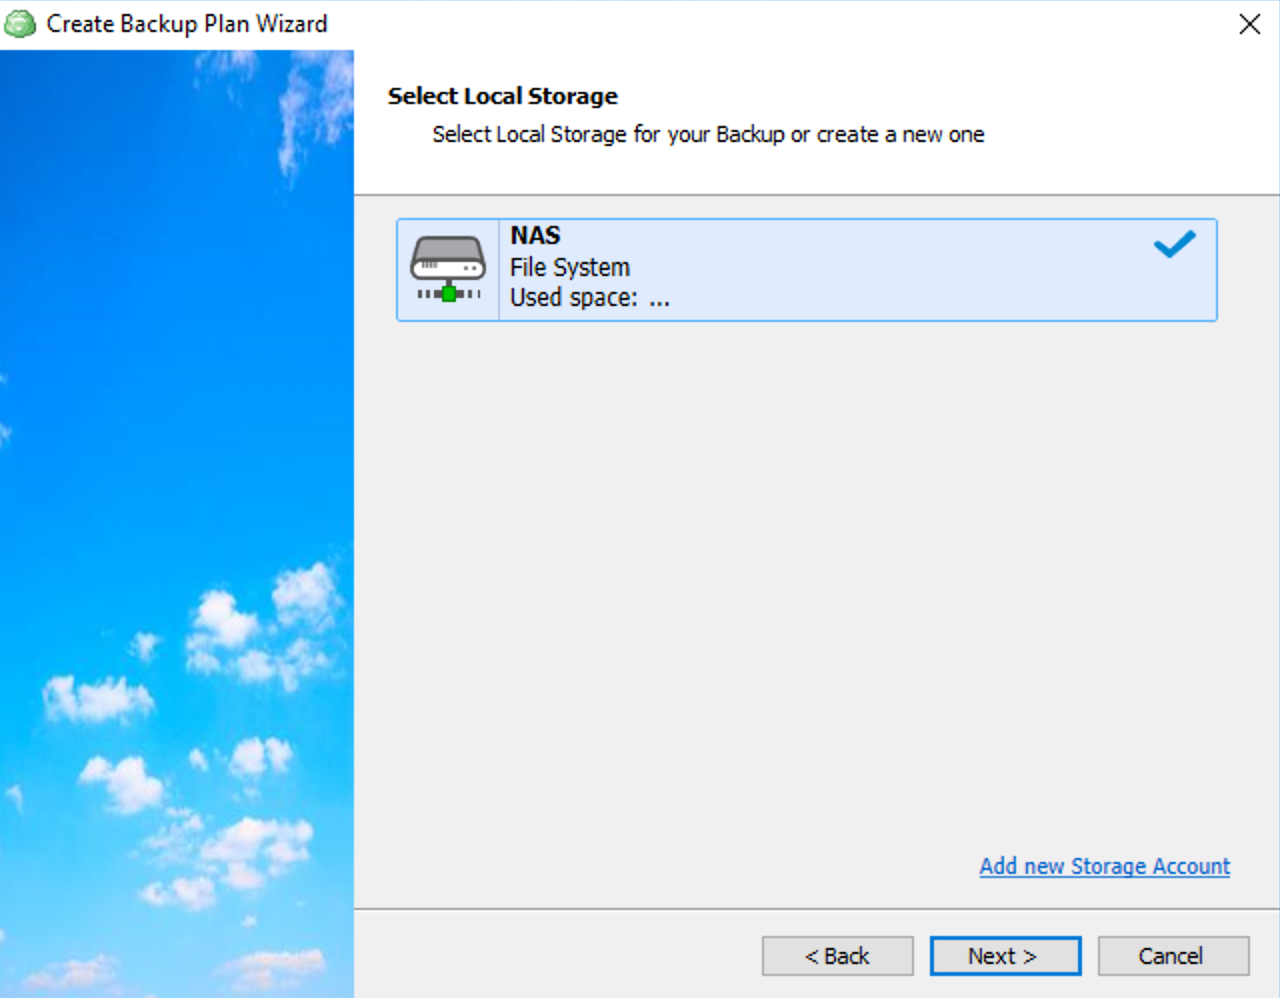
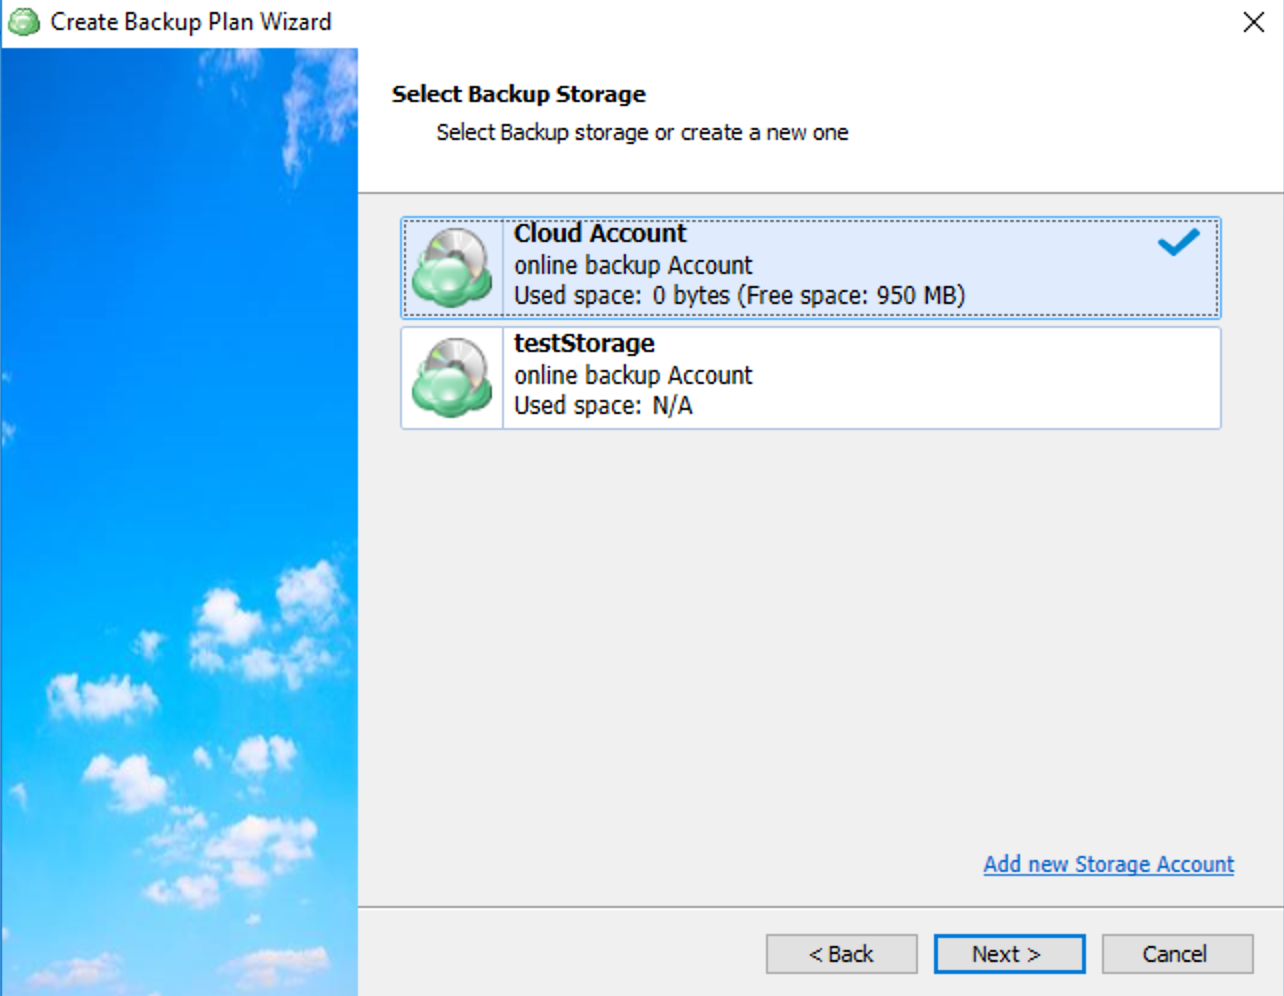
Next, specify the local storage. Click Next.
The Advanced Options step contains the following options:
- Use block level backup. It's a type of backup that allows you to backup only modified parts of the files instead of running a full backup every time the file is changed. Block-level backup takes less bandwidth for regular backups and reduces the backup time.
- Backup NTFS permissions. This option is self-explanatory; it essentially allows you to backup NTFS permissions for all backed up files and folders.
- Track local file deletes in backup storage. This option ensures that the MB Windows client tracks deleted files and in the future will not restore them on a different computer.
- Use backup operator. If you're running the MB Windows client service under an account that is part of the Backup Operators group, you can use backup operator API to perform backup. Using this option might help if, for example, you cannot backup NTFS permissions.
- Use fast NTFS scan. It's our proprietary file scanning & search mechanism. Our method — as opposed to Windows's NTFS file scanning method — generates a file tree. Navigating through said file tree is considerably faster, resulting in overall faster backups. Performance varies depending on the type of storage device you're using and the number of files targeted for backup. Note that you must have VSS enabled (option #2) in order to use fast NTFS scan.
- Force using VSS. If this option is enabled, the MB Windows client will backup files from a snapshot so as to avoid any conflicts if the files are being modified during the backup.
- Use system VSS provider. Enable this option if you have a malfunctioning third-party VSS provider installed. When the backup starts, the MB Windows Client will force-use the system VSS provider.
Specify the files and folders you'd like to back up and click Next.

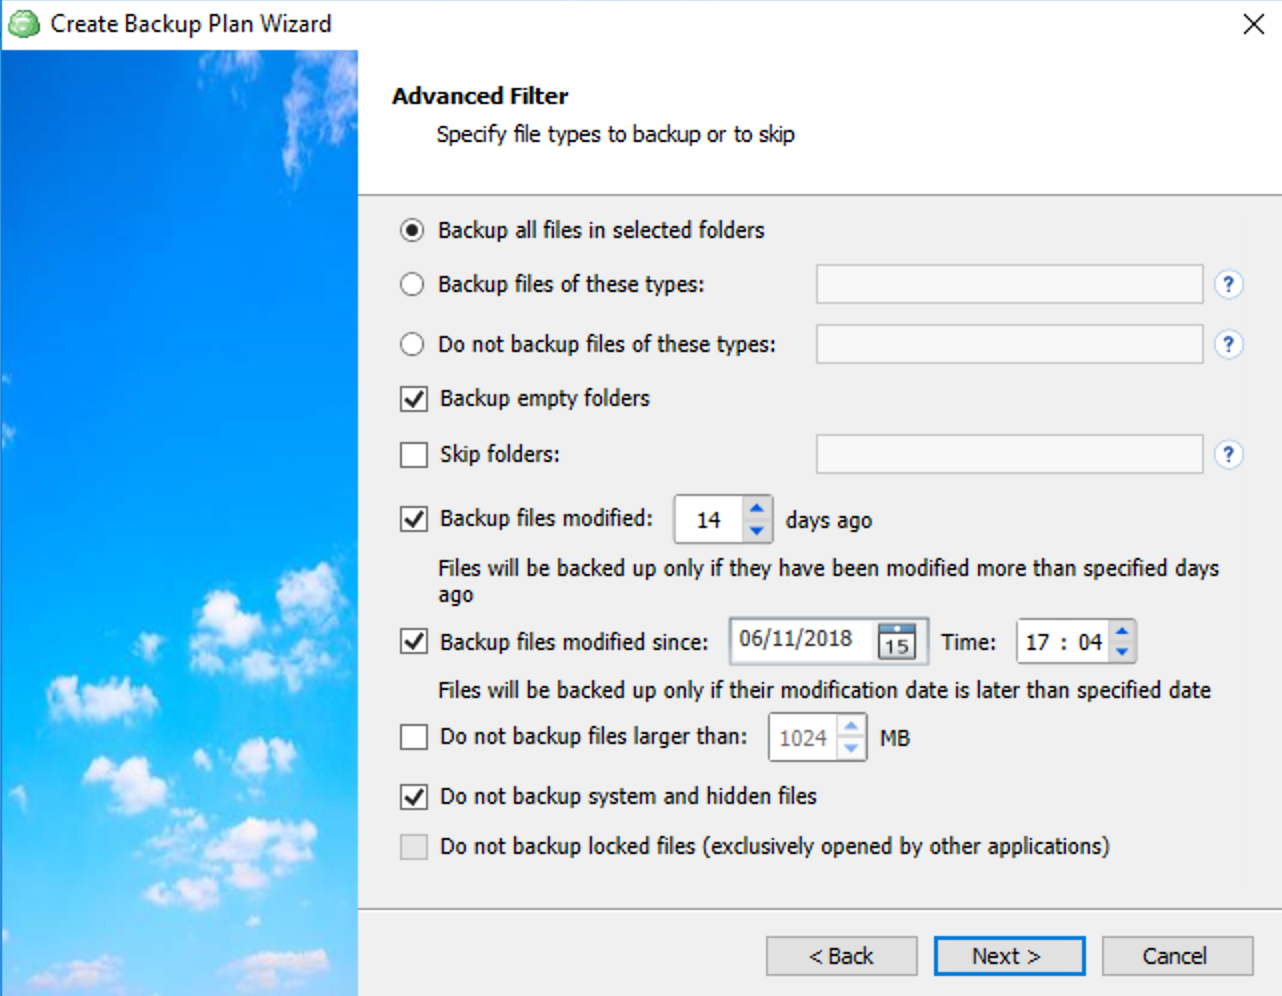
On the next page, you can define various criteria based on which the backup service should select files to upload to your backup destination.
You can specify the following criteria on this page:
- Select the file types to include in your backup. You can choose whether to back up all files in the selected folders, as well as specify a "white" or "black" list for the file types to include in the backup.In addition, you can specify whether the backup should include system, hidden and locked files contained in the selected folders.
- Select the folders to exclude from your backup. You can specify whether to back up empty folders and list folders that you do not need to include in the backup.
- Specify the time period within which the files should have been modified to be included in your backup. You can make the backup only include files that were modified earlier than a certain number of days. For example, setting this value to 14 days will only back up files that were modified earlier than two weeks ago.
- In addition, you can make the backup only include files that were modified after a certain date and time. For example, setting this value to 12/31/2009 23:59 will only back up files that were modified since the beginning of year 2010.
- Specify the maximum size for the files included in your backup. You can avoid backing up files exceeding a certain size.
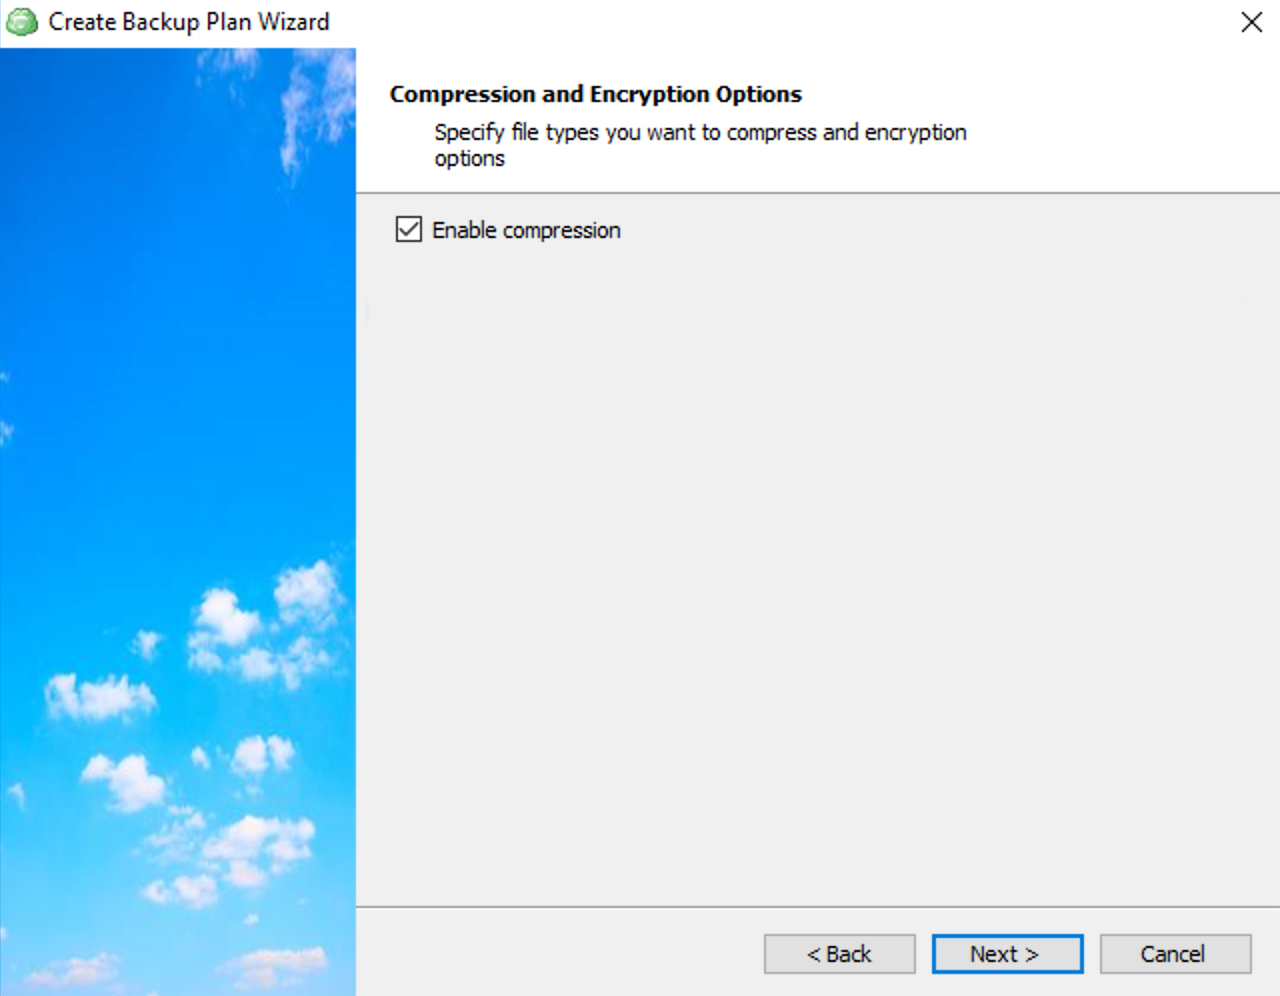
You can make the MB Windows Client compress your backup contents to decrease the space required for storing the backup and the time needed to upload it to the target storage.In addition, your backup is already encrypted with SSE ( Server Side Encryption ) by default.
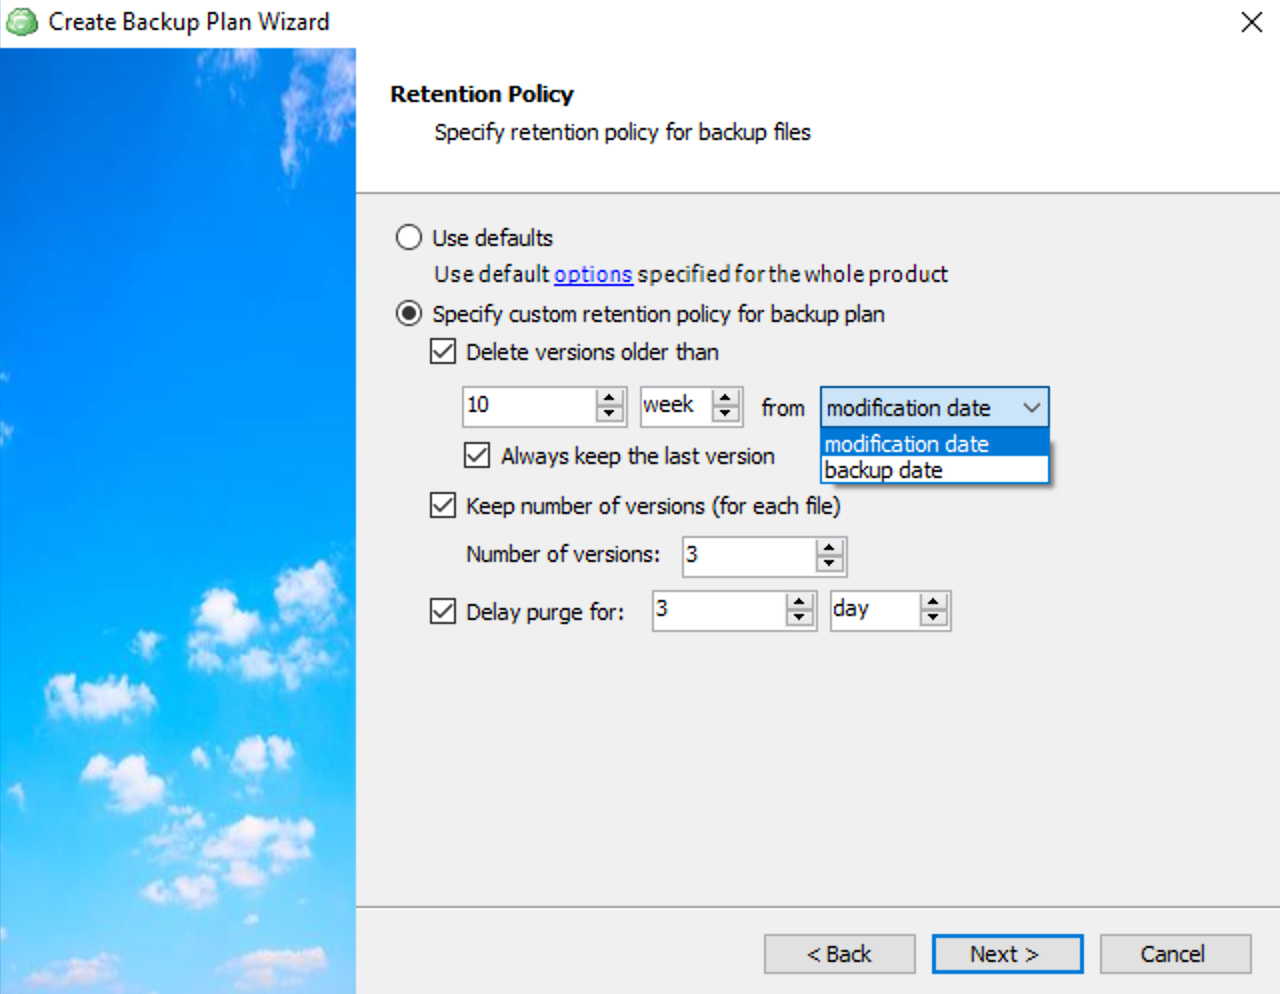
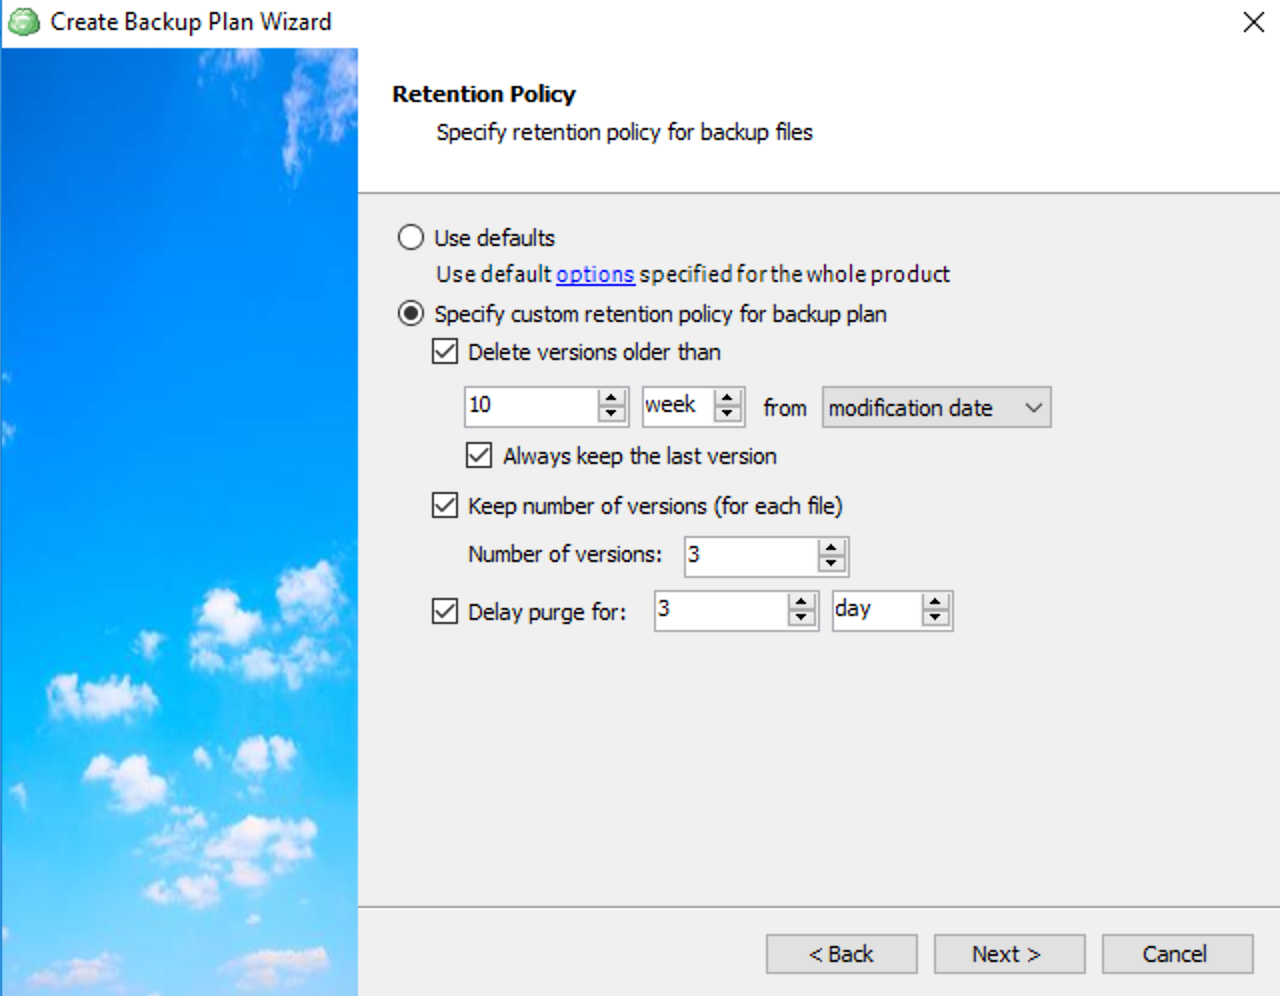
On the next step of the Backup Wizard, configure the retention policy settings:
- Delete versions older than. This parameter deletes all file versions older than the specified time period as measured against the initial backup or the last modification date of your files. You can also optionally ensure that regardless of this policy, the last version of the file is always retained.
- Keep number of versions (for each file). This option indicates the minimum number of versions of each file that should be retained in the backup storage.
- Delay purge for. If you delete some files locally, they're automatically purged from the cloud storage too. To delay the purge, use this option.
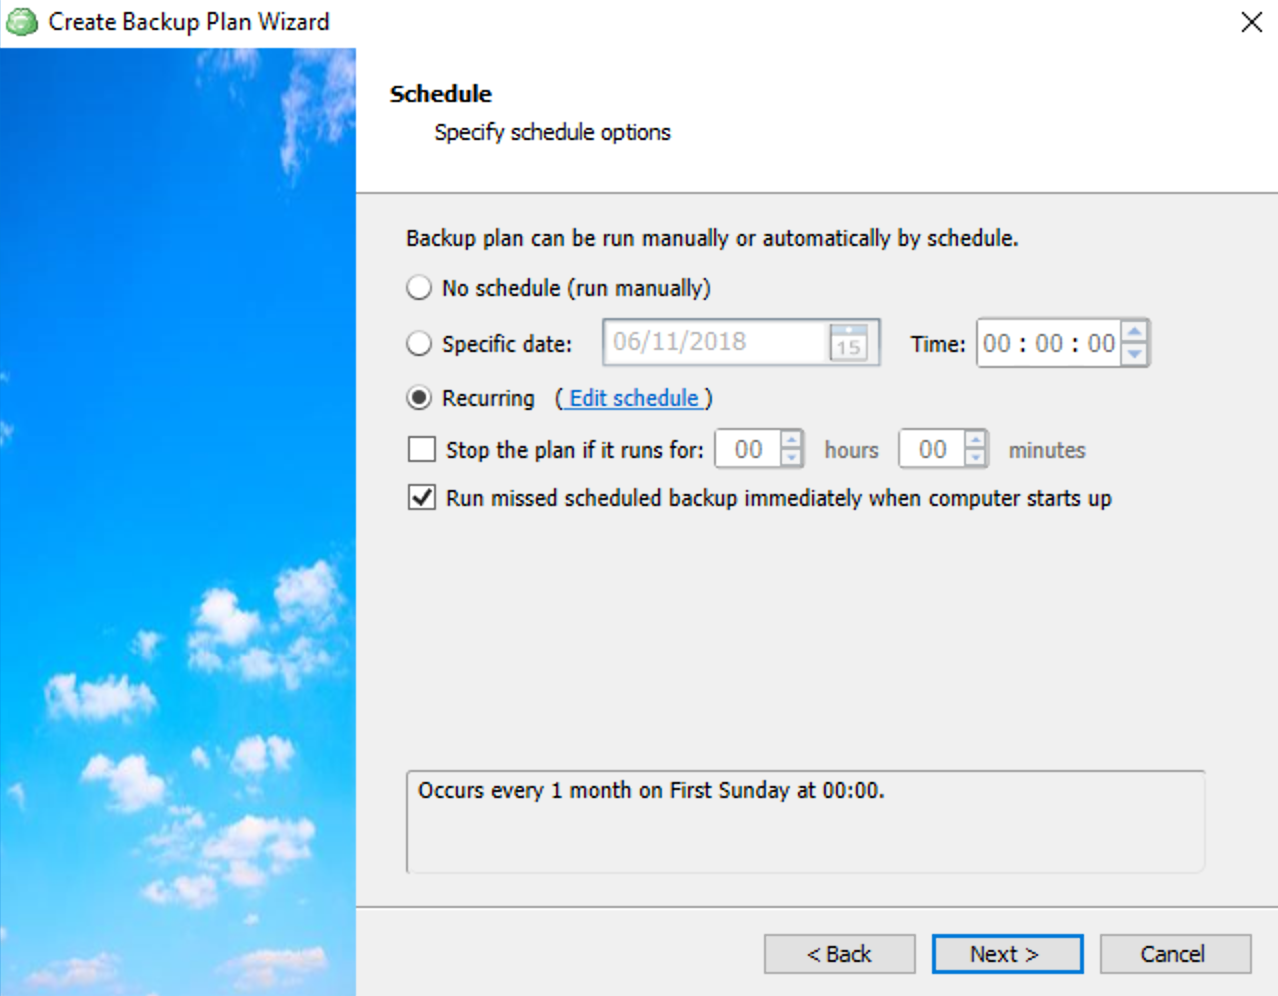
On the next wizard page, you can specify the schedule settings to make your backup routine run automatically.
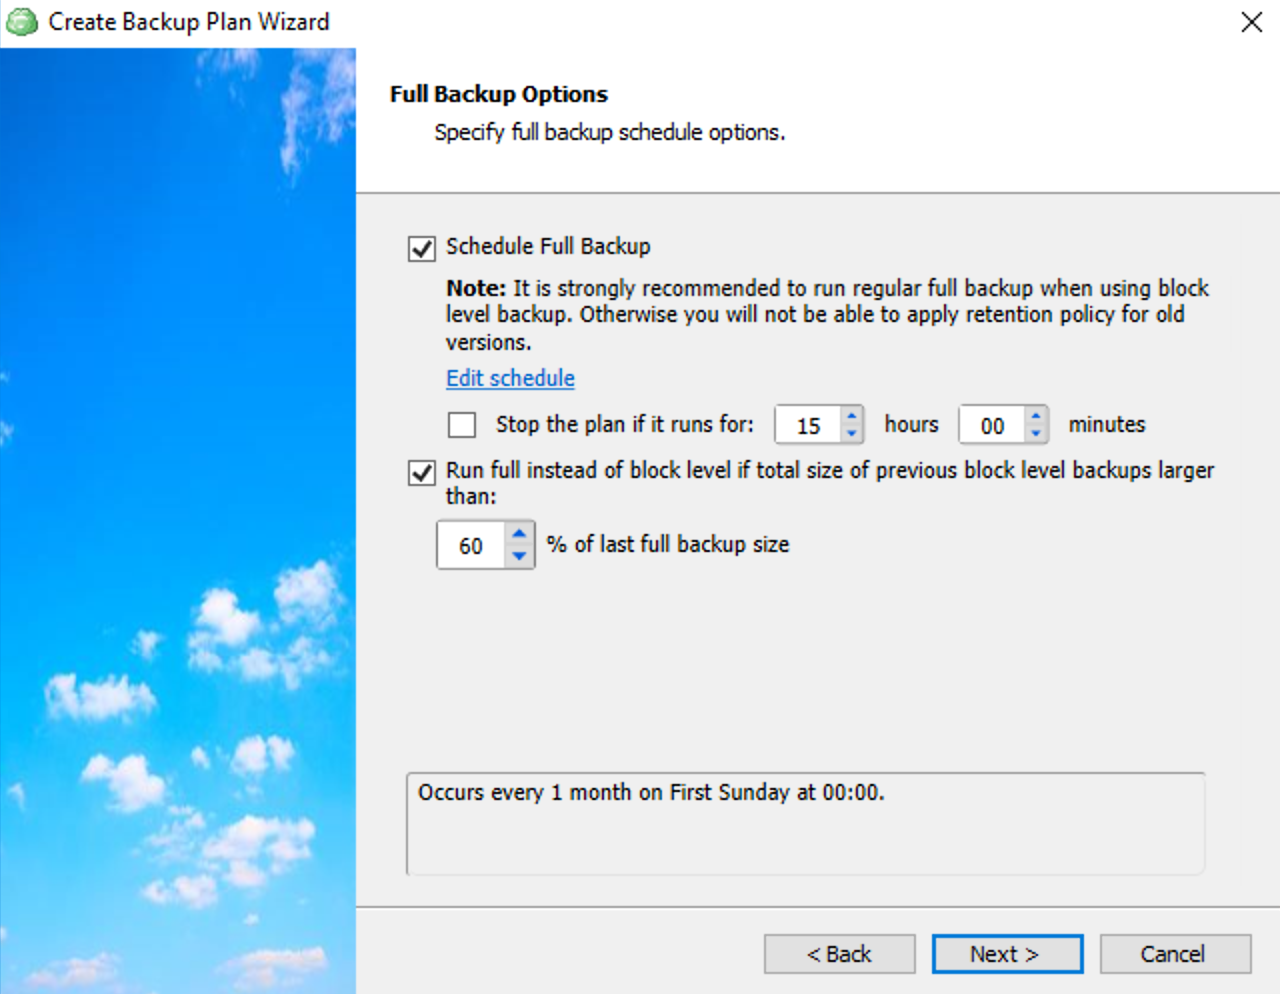
If you enabled block-level backup previously in the wizard, the next step is to configure a full backup.
We strongly recommend that you specify a schedule for automatic running of a full backup on this wizard page to ensure that the older versions of your files are always available in a storage that houses block-level backups.
If required, you can force the backup service to perform a full backup each time when the total size of previous block-level backups exceeds the specified proportion of the last full backup (50% by default).
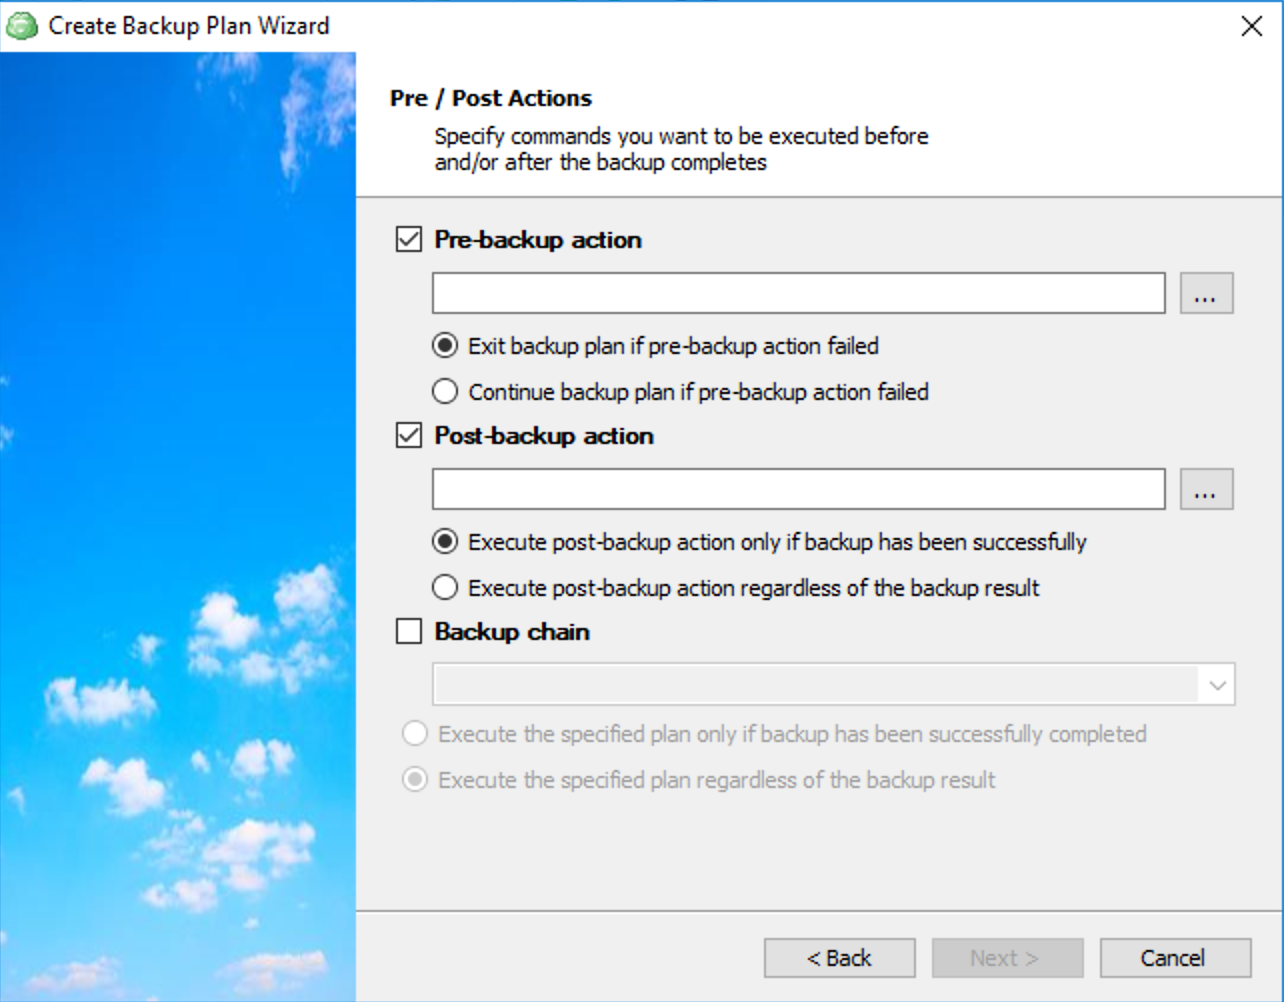
On the next step of the wizard, specify the pre- and post-actions.
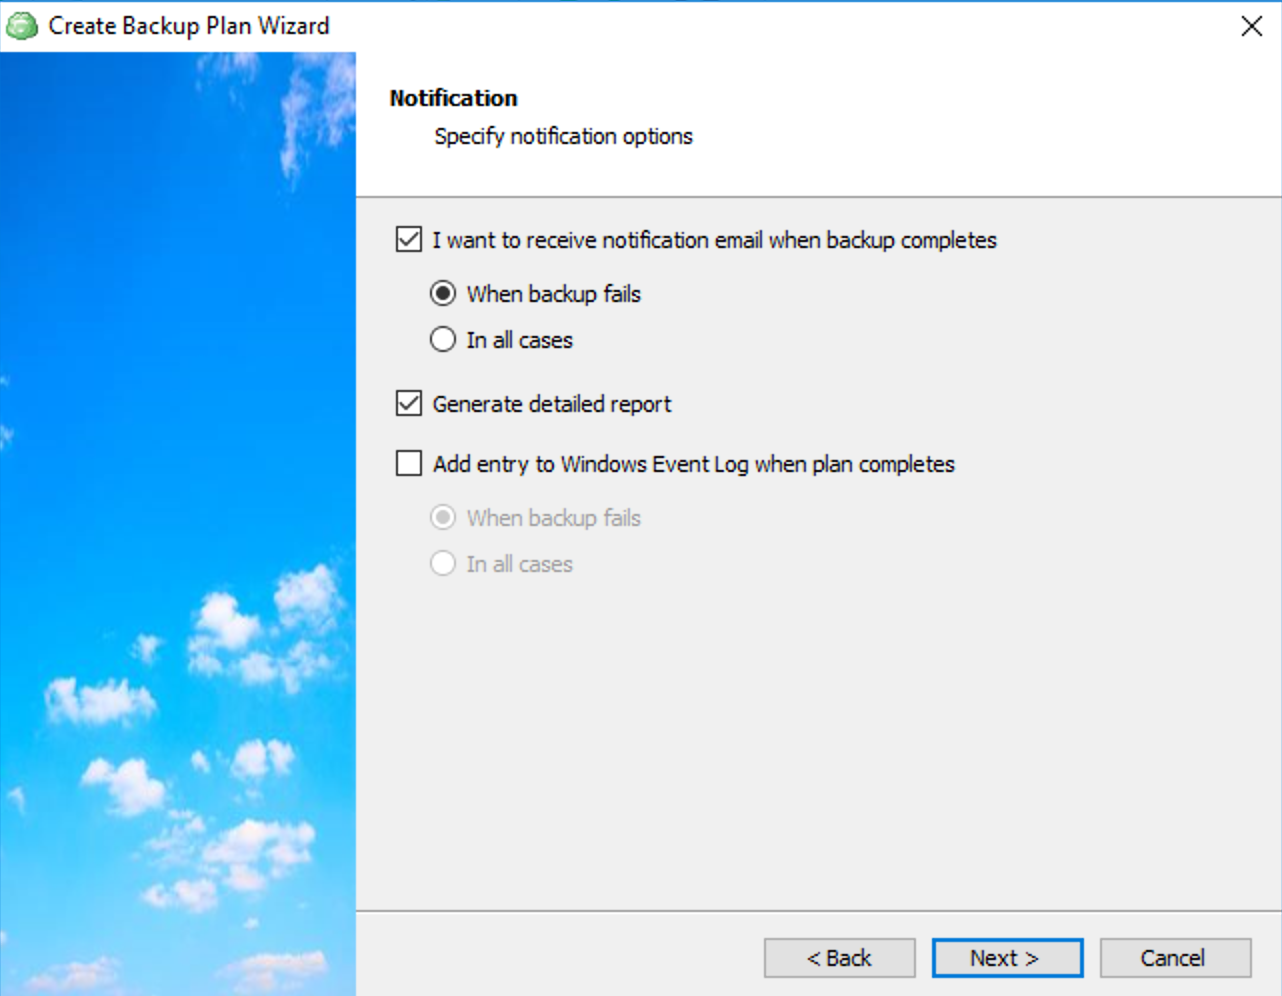
On the next step of the wizard, configure email & local notifications. You can optionally instruct MB to generate detailed reports and also add an entry to Windows Event log when the plan completes.
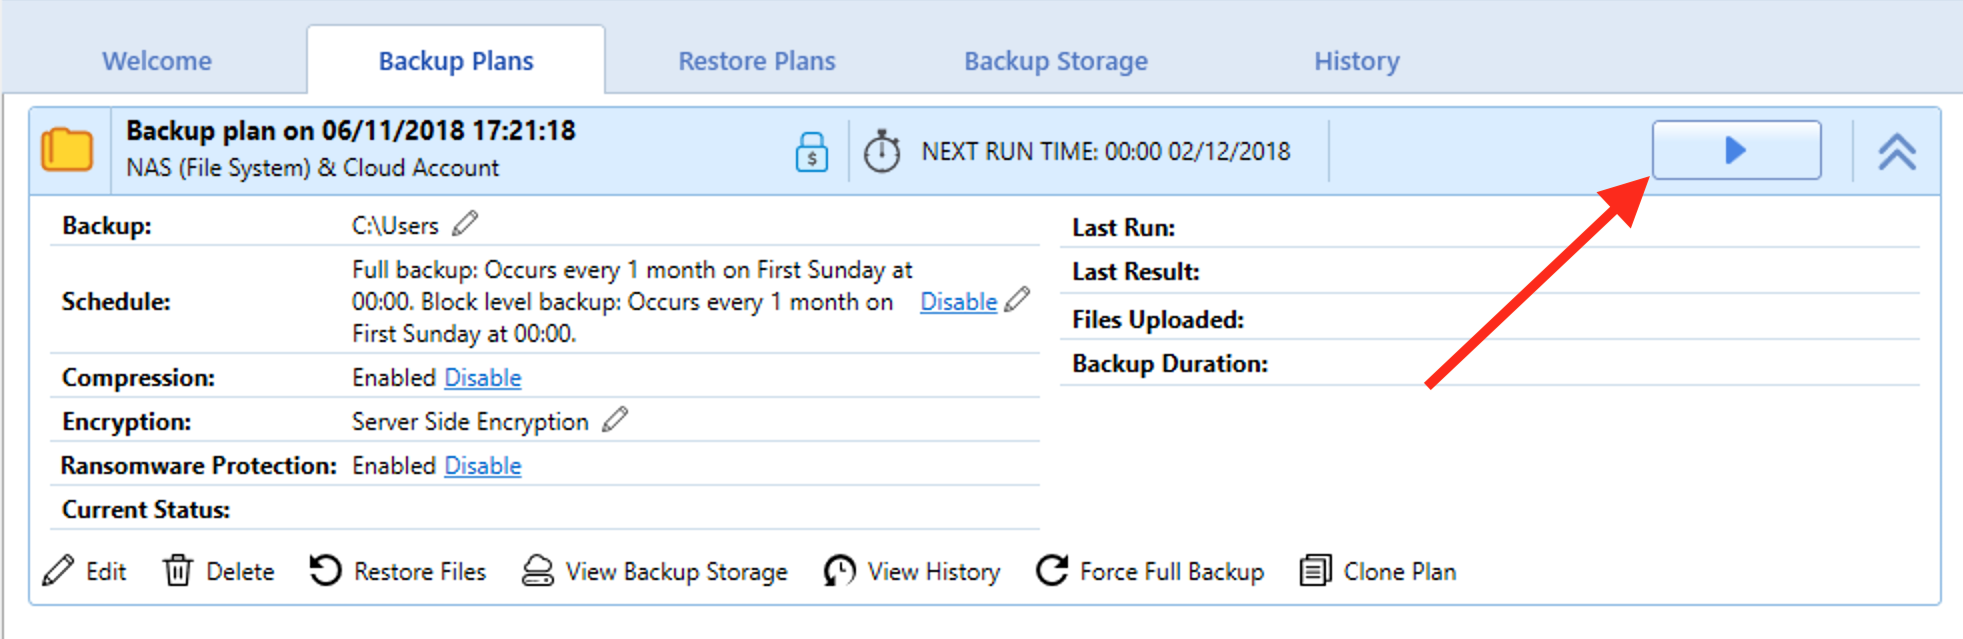
Finally, review the plan, click Next, and then click Finish. To start the plan, simply click on the play button on the Backup Plans tab.